To build something, first prepare the development environment.
In this chapter, you will prepare the tools needed for the chapters that follow.
Without these steps, you will not be able to develop a Portal Custom experience, so make sure to complete them.
Download the Official BF SDK
Open the URL above. When you are asked to choose between Battlefield 2042 and Battlefield 6, choose Battlefield 6 and click "START CREATING".
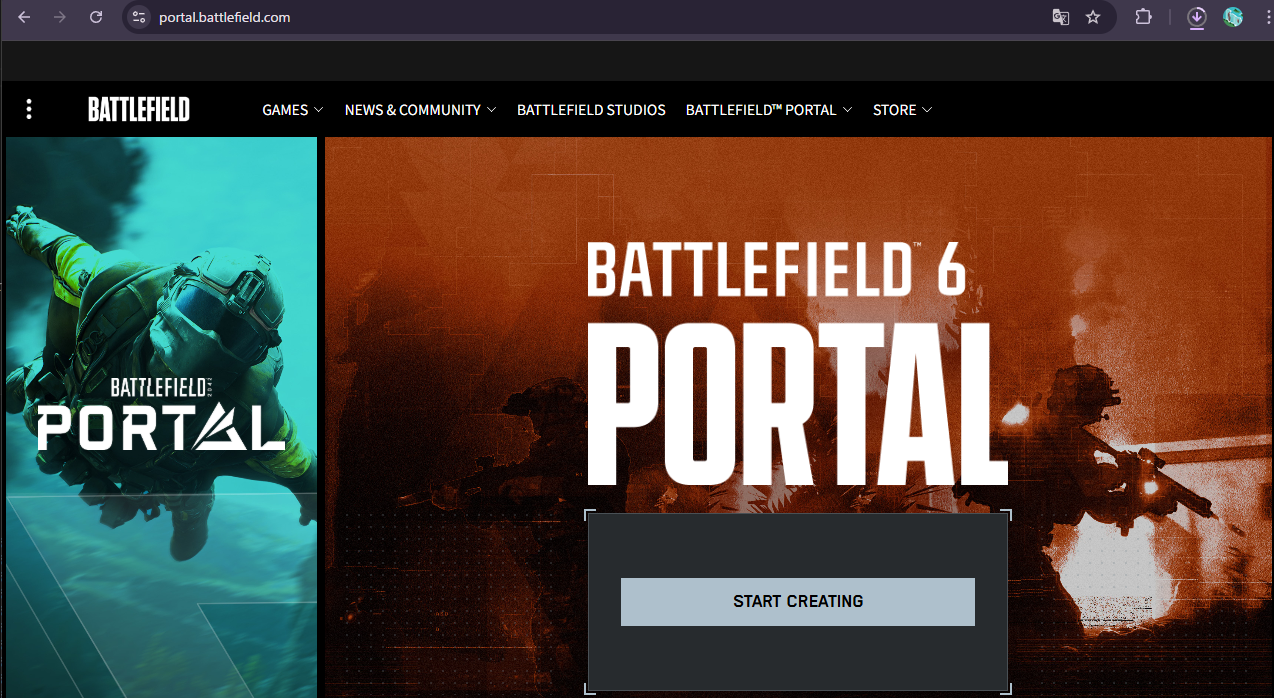
There is a "Download SDK" button at the top. Click it to download the SDK zip file.
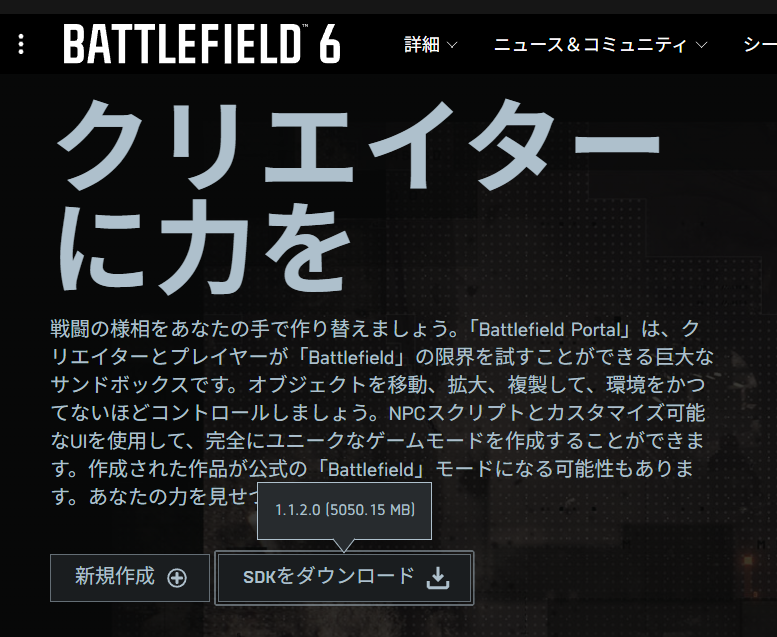
If you are asked to log in during this process, log in with your EA account.
After the download finishes, extract the zip file. On Windows, right-click the downloaded file and choose "Extract All..." to extract it.
Preparing the Map Editor
Once you extract the downloaded SDK zip file, the map editor is ready to use.
According to the official SDK instructions, prepare Godot as follows.
- Launch the Godot executable included in the SDK.
- When the "Project Selection" screen opens, drag the
GodotProjectfolder from the SDK into it. To do it manually, chooseGodotProjectfrom "Import". - Open Battlefield 6 Portal Project. The first launch may take several minutes.
- Press
Portal Setupin theBFPortaltab on the right side of Godot, then wait for setup to finish. - From the
Scenemenu, chooseOpen Scene, then open the level you want to edit from thelevelsdirectory.
If you cannot find the level terrain, it may be placed above the camera position. First look upward and check whether the terrain has loaded.
Basic Map Editor Controls
The official SDK docs list the following as the basic Spatial Editor operations.
| Operation | What it does |
|---|---|
| Drag from Object Library | Places the object you want to use into the 3D Scene or Scene Outliner |
W while selected |
Move mode. Moves the placed object |
E while selected |
Rotate mode. Rotates the placed object |
R while selected |
Scale mode. Scales the placed object |
Moving the viewpoint in the 3D view uses standard Godot controls, so check positions with mouse controls and WASD movement.
When working with a placed object, remember this flow: select it first, then switch between move, rotate, and scale with W / E / R. That makes it much harder to get lost.
As a rule, use uniform scaling.
Non-uniform scaling, where X/Y/Z are stretched separately, is not officially supported and can break the object's appearance or collision in-game.
Preparing TypeScript
This book does not cover the visual editor or block-style visual programming in detail.
From here on, you will prepare to develop with the TypeScript SDK and a template repository.
1. Create a GitHub Account
Go to GitHub and create your own account.
2. Create a Repository (Project)
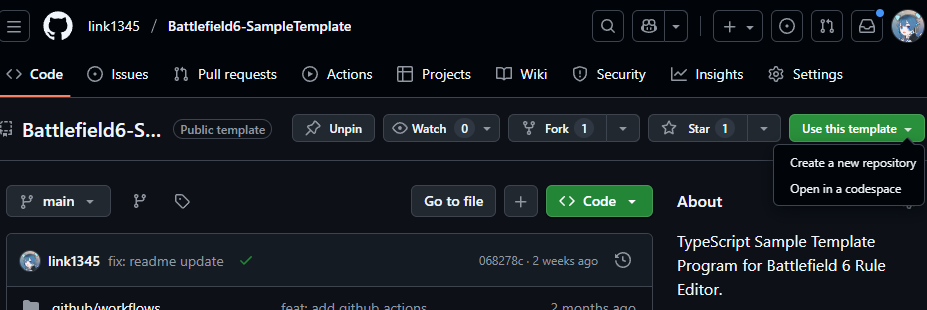
On the page above, click the "Use this template" button shown in the image below, then click "Create a new repository".
The "Create a new repository" page will open. Fill it in as shown in the image below.
"Repository name" is the name of your project. Choose a name that fits what you are making.
"Description" is a description of the project. You can leave it blank.
"Choose visibility" lets you choose whether the project is private or public. If you do not plan to share it with anyone, private is fine.
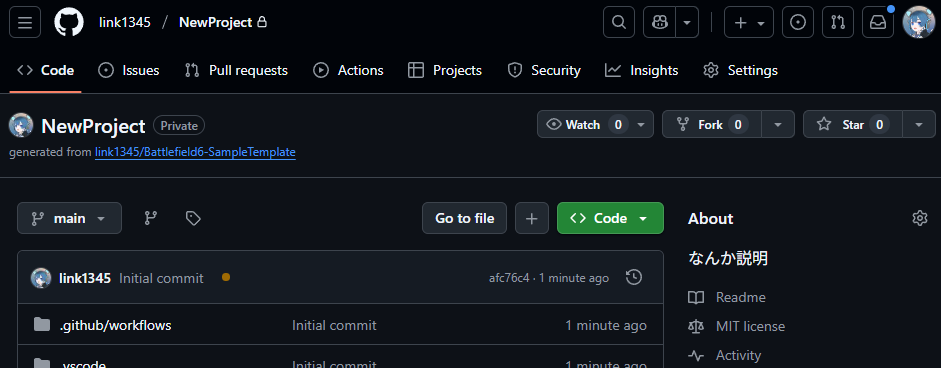
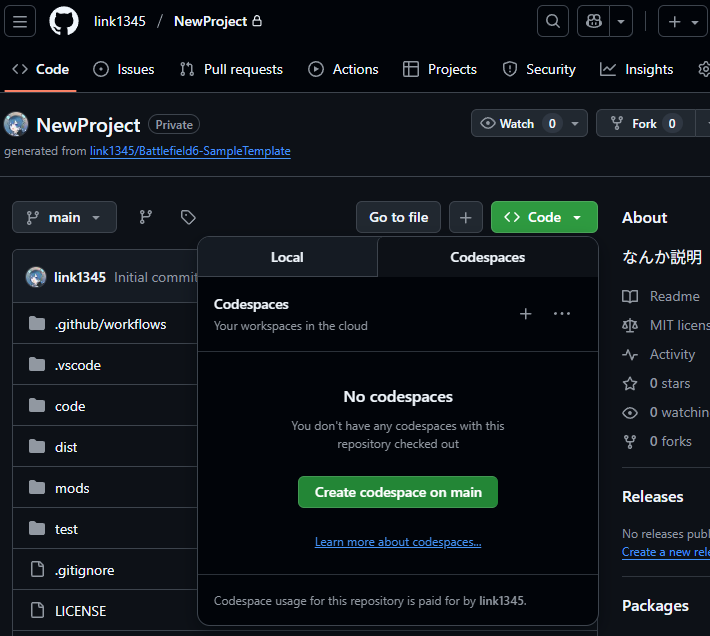
When the repository (project) is created successfully, it will appear as shown below.
3. Make the Source Code Editable
You may want to start editing the source code right away, but this time we will use "Codespaces" to make the setup easier.
Open the page for the repository you created, then press the green "Code" button. You will see options for Local and Codespaces.
This time, click "Codespaces", then press "Create codespace on main".
After a short wait, VSCode opens in a new browser tab and shows a guide like the image below.
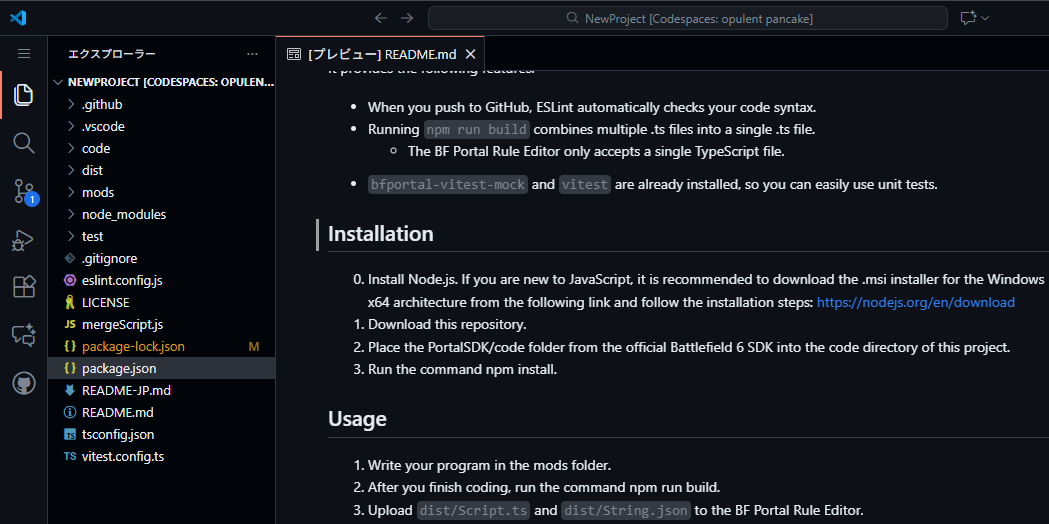
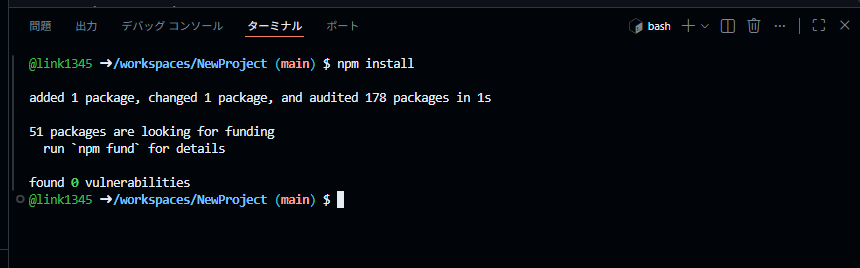
There is a "Terminal" tab near the bottom. Click it, switch to the "Terminal" tab, and enter npm install.
If you do not see a message containing Error, there is no problem.
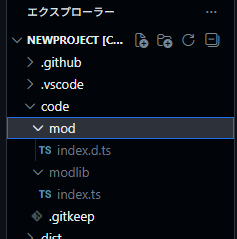
Next, look at VSCode's Explorer. Put the contents of the SDK code folder, which you downloaded from the official BF site and extracted earlier, into the repository's code folder.
If the files are arranged like the image below, it is fine.
4. What the Template Makes Easier
In this book, TypeScript development uses link1345/Battlefield6-SampleTemplate.
You can write code directly in the Script field of Portal Web Builder, but once the code becomes a little larger, the following problems appear.
- A single file becomes long, and you lose track of what was written where.
- Small syntax mistakes are hard to notice until you launch the game.
- Every time you retest the same logic, manual work increases.
- The Script field in Portal Web Builder ultimately receives one TypeScript file, so split files must be combined by hand.
Using this template makes the following tasks easier.
| Command | What it does |
|---|---|
npm run lint |
Checks syntax and coding style with ESLint |
npm run lint:fix |
Automatically fixes issues ESLint can fix |
npm run build |
Combines multiple .ts files under mods into dist/Script.ts |
npm run test |
Runs tests with Vitest |
When you push to GitHub, the GitHub Actions included in the template also run npm run lint. In other words, it helps catch code that is suspicious as code before you publish it.
5. Template Folder Structure
The first places to look are the following.
| Location | Role |
|---|---|
mods/ |
Where you write your TypeScript code |
code/ |
Where you put the Battlefield 6 SDK code folder |
dist/Script.ts |
The TypeScript file generated by npm run build and registered in Portal |
dist/Strings.json |
The string definitions registered in Portal |
test/ |
Where Vitest tests are stored |
During development, write your code as multiple files in mods. When it is ready, run npm run build, then register the generated dist/Script.ts and dist/Strings.json in the Script field of Portal Web Builder.
That completes the setup for creating Portal scripts with TypeScript.
How to Read the SDK Folder
The SDK is large, so you do not need to read everything from the beginning. Start by checking the following places in order.
| Where to look | What you can learn |
|---|---|
docs/pages/getting_started.html |
How to launch Godot, import GodotProject, and run Portal Setup |
docs/pages/spatial_editor.html |
Map editing, Object Library, and exporting .spatial.json |
docs/pages/gameplay_logic.html |
TypeScript, Custom UI, AI, ObjId references, and log checks |
docs/pages/tips_tricks.html |
Performance tips such as vehicle count, player scanning, and UI Widget management |
code/types/mod/index.d.ts |
Function and type list for the Portal TypeScript API |
GodotProject/mods/_StartHere_BasicTemplate |
The official TypeScript template to read first |
In the local SDK's sdk.version.json, the reference SDK version is 1.2.3.0. The SDK changes through updates, so if this book's steps differ from your screen, first check sdk.version.json and docs/pages.
Conclusion
You have prepared the environment for making a game with Portal Custom.
With this ready, you can move smoothly into the later chapters and start turning your ideas into a working game.
📘 In the next chapter, "Practical Map Editor Guide (Placement and Linking)", we will use the prepared environment to work through what can be placed, where to place it, and how to assign IDs. For Shared, place it as a test and check warning marks. For IDs, never use -1 and keep a ledger. Keep those two rules in mind as you move to the next step.