From creating your first experience to customizing the game
In this chapter, the goal is to become able to do the following.
- Enter Portal Builder and create a new experience.
- Understand the difference between Portal Custom and Existing Mode while actually using the tool.
- Configure basic settings (mode, score conditions, equipment, map, HUD) with as little hesitation as possible.
- Explain the core of your mode (purpose, expected play time, recommended player count) in a short sentence.
- Run a small loop of test launch → fix → retest.
1 Entering Portal Builder
First, log in to Portal Builder and create the Portal experience you will use in the game.
Portal Builder is operated in a browser. Let's start by creating a new experience.
1.1 Creating a New Experience
Go to the Portal page and click "Create New +".
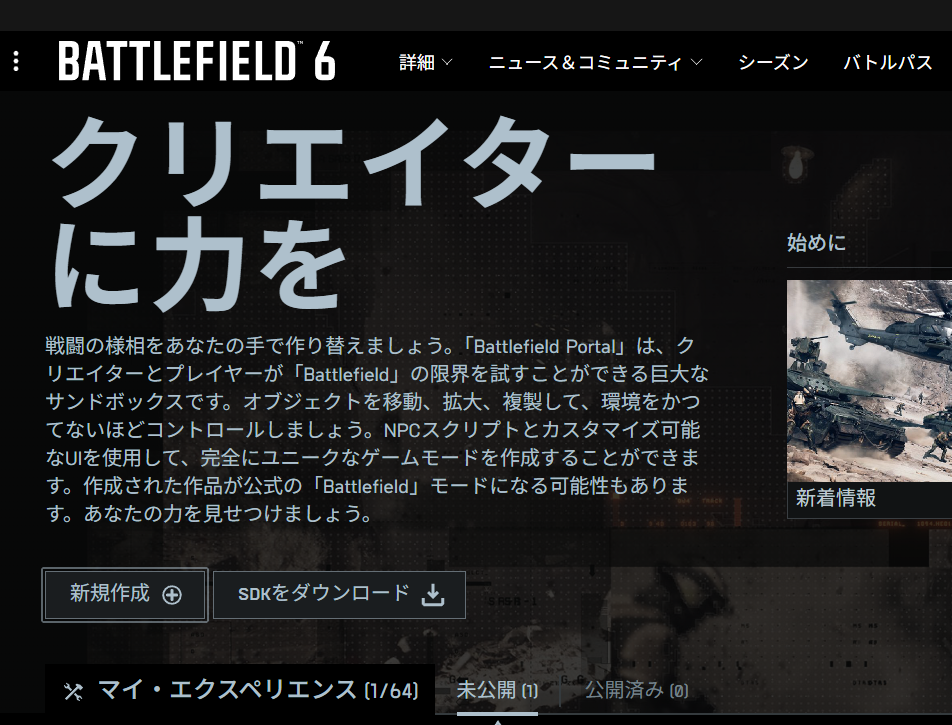
Portal Builder home
1.2 Choosing Between "Portal Custom" and "Existing Mode"
You can choose either "Portal Custom" or "Existing Mode".
For the difference between "Portal Custom" and "Existing Mode", see "Chapter 1: What is Battlefield Portal?", especially "A New Unit Called a Community Experience".
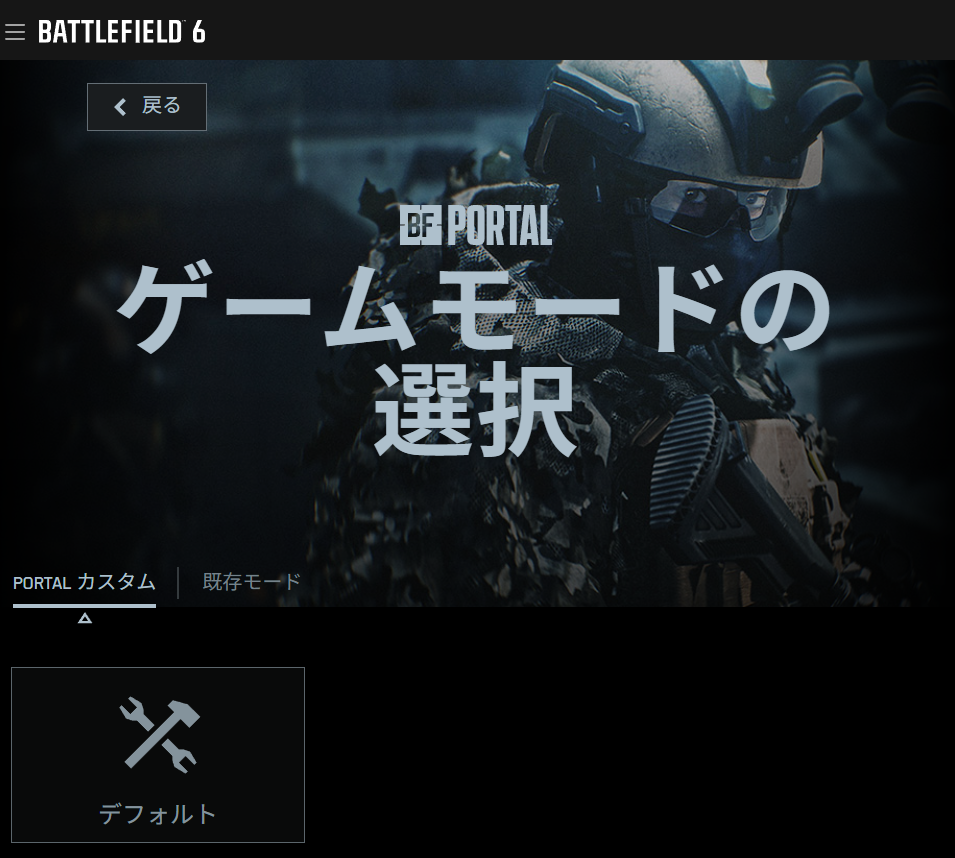
Portal Builder game mode selection screen
2 Choosing the Base Mode (Summarize the Core of the Game in One Phrase)
The first step when creating a new experience is choosing the base mode: what kind of game is this? You need to decide on a goal that can be explained in one phrase.
This becomes a design guide for you as the creator, but more importantly, it prevents a major problem for players: if the rules are not immediately understandable, players will not know what they are supposed to do.
What should the player do? Make the type of game easy to imagine right away.
Examples: Common Base Modes
"Zombie game": the defenders lose if all defending players die.
"Car race": players ride small vehicles and pass through checkpoints.
3 Foundation of the Basic Rules (Score Conditions / Win Conditions / Time)
Clear rules help players understand what they should do and what they can do. Rules that are too difficult may look attractive to the creator, but to players they become something that is hard to recognize as a game.
Even if you think your idea is fun, it is worth asking another person or an AI to read the rules you made and explain what they understood.
- Round time: Aim for about 10 to 15 minutes. If it is too long, players may get bored or tired, and the mode will be hard to keep playing.
- Win condition: Kills / reaching a score / tickets / objective completion. Match this to the "one-phrase goal". If the goal is unclear, players will not know what to do.
- Score balance: If one team is too advantaged, players may feel "Team A always loses, so I do not want to play Team A." Adjust awarded points and object placement carefully.
Imagine the ending first: When does it end? What happens to end it? Write that in one line.
Example: "Zombie Game": the defenders lose if all defending players die
- Round time: 10 minutes
- Win condition: survive for 10 minutes
- Score balance: Both sides can use weapons and equipment. The zombie side starts with low health, then gains more health in the second half. Human players can build a defensive position in advance. The human side starts with fewer players.
By creating situations that benefit the zombie side, zombie players stop being simple targets that only get defeated.
For human players, the later half becomes more tense and less boring, and they also start thinking about how to build their defensive position.
4 Equipment and Vehicles (Remove Confusing Gear)
- Weapons and gadgets: Remove gear that does not fit the mode's intent. For beginner-friendly modes, reduce weapons with strong quirks.
- Vehicles: Transport vehicles are useful for creating routes. Attack vehicles can dominate the battlefield, so limit their number.
Think about fun: avoid creating a situation where one side has too much of an advantage during play.
As a basic setting, Portal Builder lets you restrict weapons and similar items from the weapon restriction menu shown below.

Portal Builder weapon restriction menu
Example: "Zombie Game": the defenders lose if all defending players die
- Weapons and gadgets: Disable drones and other tools that have little purpose in the mode.
- Vehicles: Over the full 10 minutes, the human side can only deploy one attack vehicle. The zombie side cannot deploy attack vehicles, but can use anti-vehicle weapons.
Because the human side can build a defensive position, do not let them easily deploy something that can change the whole battle at once.
Disable equipment and vehicles that would break the game.
5 HUD / UI (Preparing "Words → Markers → Effects")
Messages need to be short. If they are too long, players may not be able to read them while busy playing.
Players may also fall behind in understanding, so the message should be understandable at a glance.
Also, if you order things as message → marker → presentation, players understand the instruction first, then understand what the marker is for.
If you present them in the opposite order, players may not understand what the marker is supposed to indicate.
- Message: Use a short phrase of about 5 to 12 characters that states only the next move (what to do next).
- Marker (WorldIcon): Keep the number small. Prepare icons and guide messages that match the goal. Too many markers make it hard to know where to go.
- Presentation setup: Assume that SFX/FX should not be played too often. If there are too many, players will not know why they are happening.
6 Test Launch Loop for Checking Gameplay (Minimum PDCA)
- Launch: enter alone or with two people.
- Check only whether start → entrance → destination can be followed without confusion.
- Fix → restart: fix only one item, then try again.
You need to confirm whether it actually works and whether the game's objective is understandable from an outside perspective.
You also need to adjust rules, damage settings, and similar values so the game does not clearly favor one team too much.
If you skip this work, the result becomes a game with unclear rules or a game that is not fun. Check it carefully.
Goal: one round trip in 10 minutes. Do not dig too deep; make small fixes and check them in small steps.
7 Practical Line Between "Portal Custom" and "Existing Mode"
- If you proceed with Portal Custom: connect the foundation decided in this chapter to Chapter 4 (placement and IDs) → Chapter 5 (turning it into rules) → Chapter 6 (implementation). When publishing, labels such as "Custom Logic" may be attached.
- If you play with Existing Mode: the settings in this chapter alone can get you to a playable state. The trick is to keep cycling while learning, mainly by adjusting equipment, AI, and maps.
- Attitude toward XP: keep a loose understanding that restrictions may apply depending on settings and publishing format (this book does not go into the details).
8 Troubleshooting Q&A
-
Q: I cannot find the Rule Editor / Map Editor
A: Did you choose Existing Mode? They are available when you create the experience with Portal Custom. -
Q: Nobody moves after the match starts
A: Players may not understand the route from the entrance to the destination. Keep the HUD text short and limit markers to one or two. -
Q: The sound is too loud / there are too many vehicles
A: In this chapter, lean toward reducing them. The density of presentation is designed later in Chapter 8, "Visuals and Presentation".
Conclusion
Chapter 2 is a guide for starting to use Portal Builder without hesitation.
If you decide the purpose, time, and player count here, and create the route from entrance to destination, you will understand what to aim for when building the game.
📘 In the next chapter, "Environment Setup for Portal Custom," we will prepare the environment before making the game we just designed. Once it is prepared, you will be able to create a "Portal Custom" experience.